In the side menu, you can find the dropdown list for the various Facial Recognition functionalities.
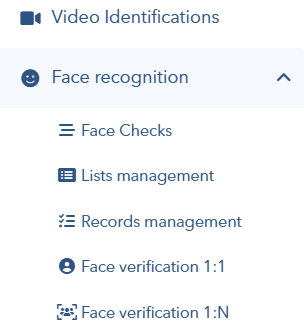
Facial Verifications
On this screen, a list of the verifications performed is displayed, where you can check their results and statuses.
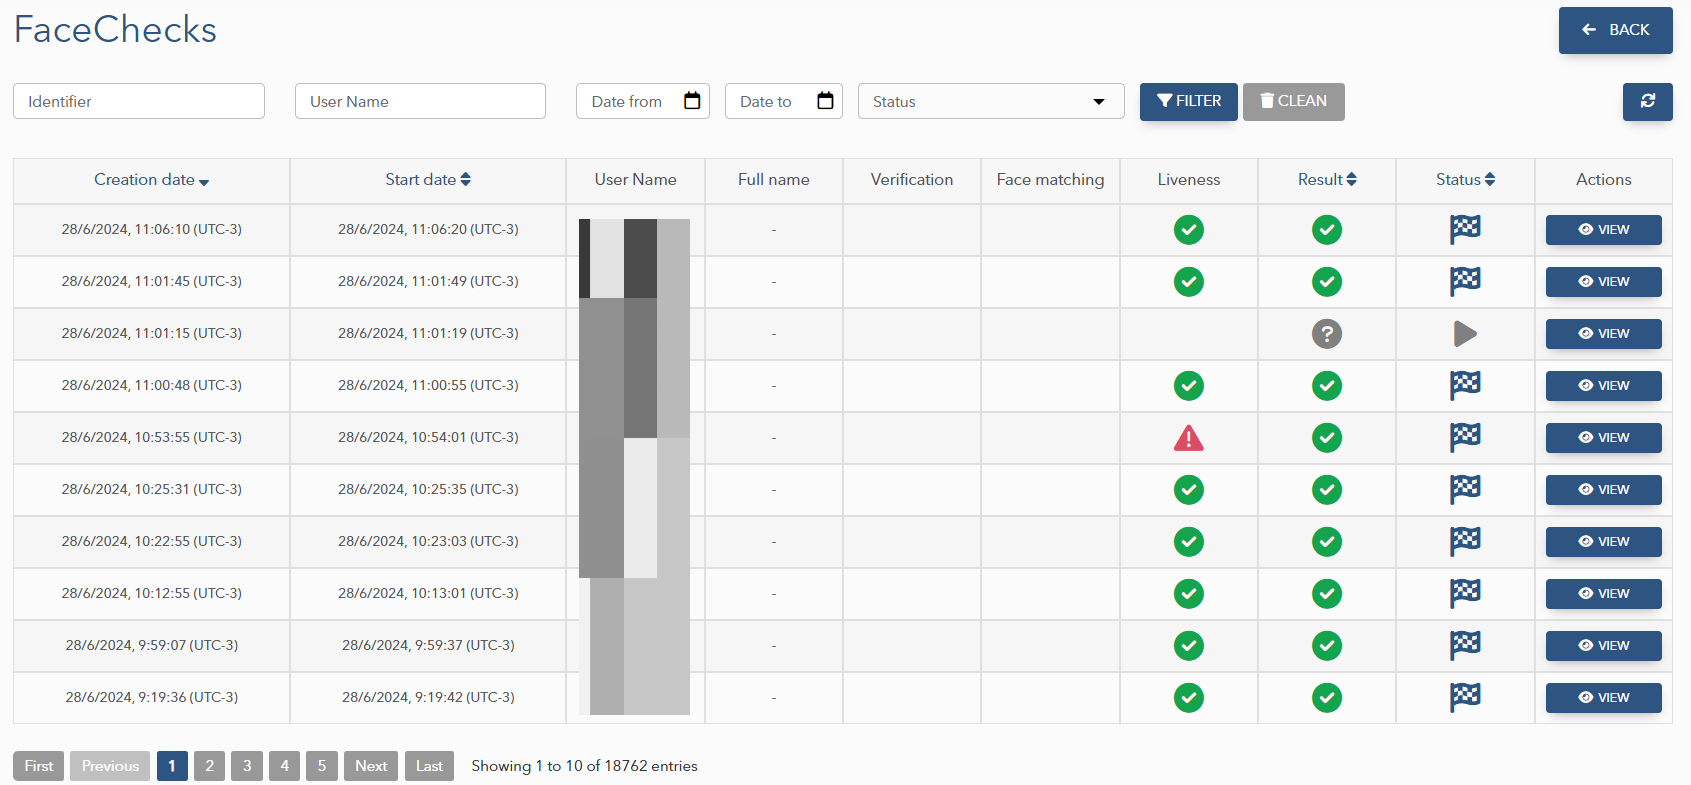
The following icons indicate the overall status of each verification:
| Icon | Meaning |
| Started | |
| Failed | |
| Created | |
| Completed |
The following icons indicate the status of each item (Verification, Facial Matching, Liveness Detection) of the verification:
| Icon | Meaning |
| Accepted | |
| Pending | |
| Rejected | |
| Associated document verification |
Verification Details
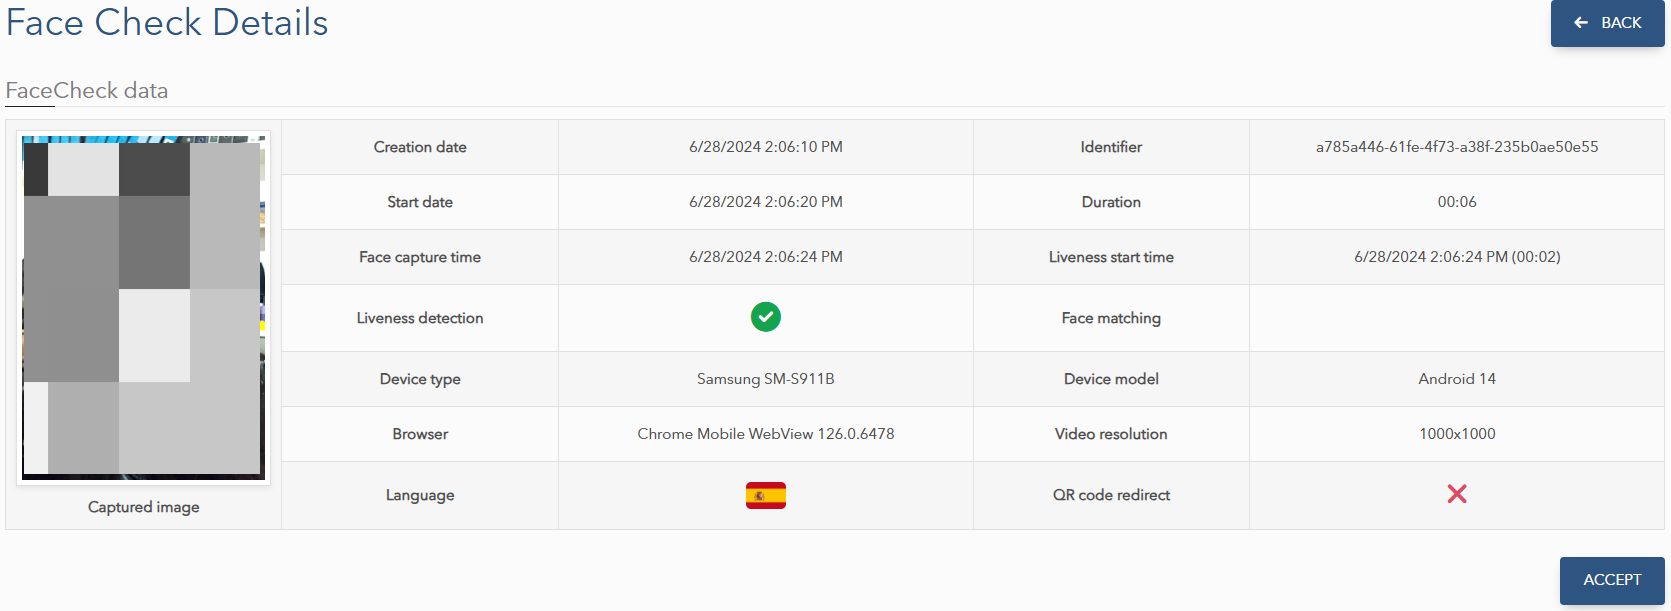
If the verification does not have an associated facial record, the View button in the corresponding row of the previous list will open the details where all its data can be viewed.
Facial Record Details
If the verification has an associated facial record, the View button in the corresponding row of the previous list will open the facial record details where all its data can be viewed.
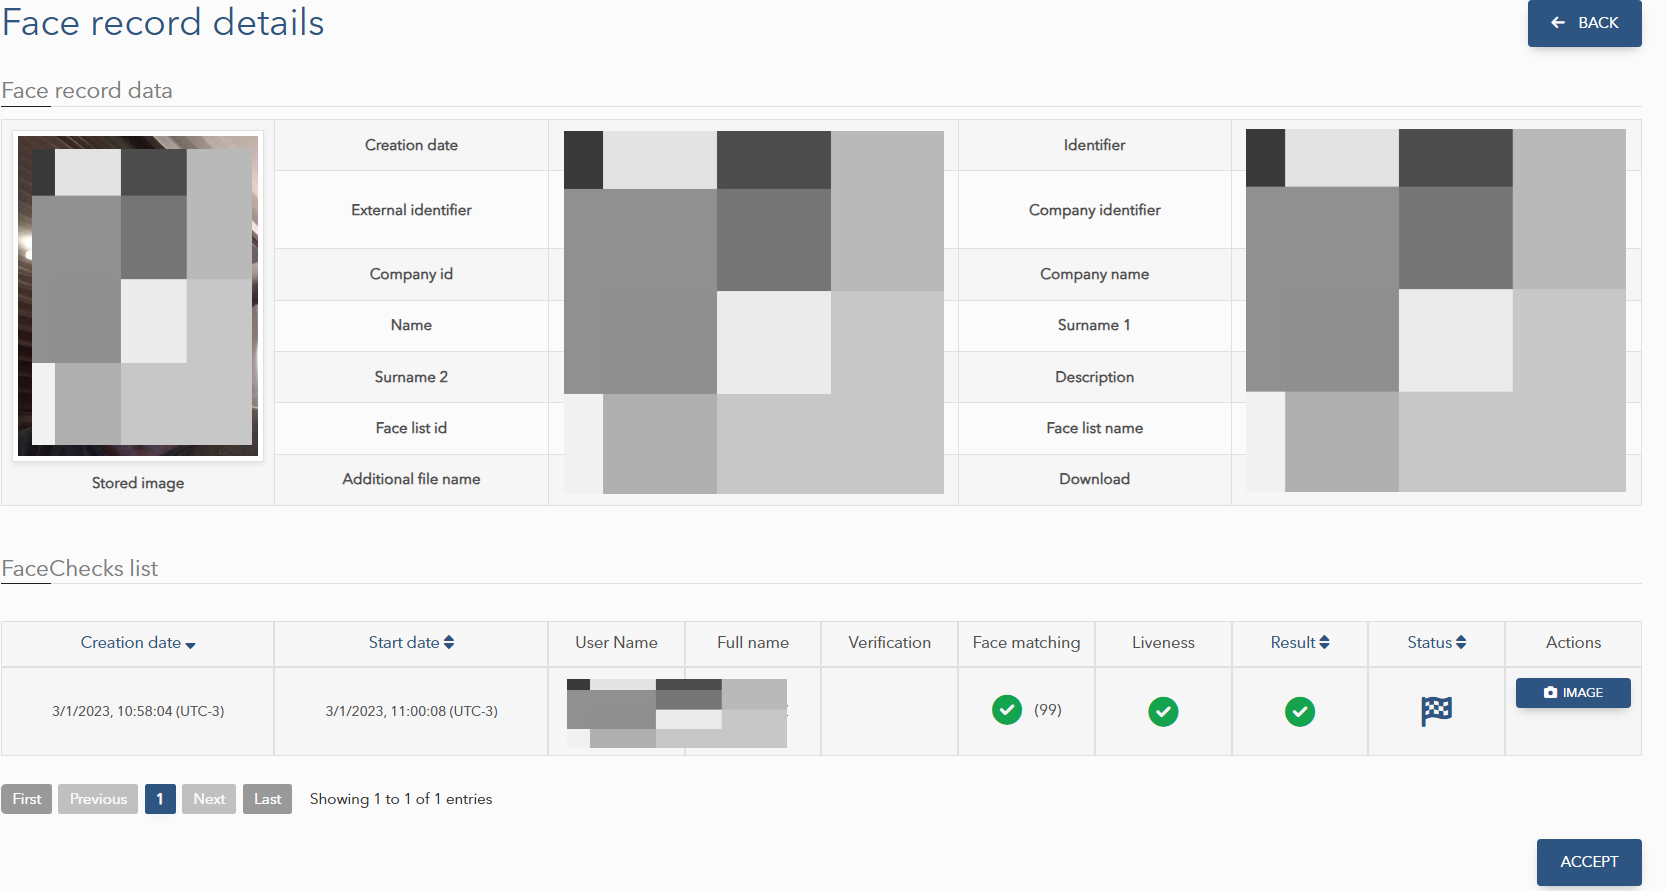
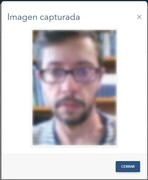
In the FaceChecks list that appears, you can view each of the captured images by clicking the Image button.
List Management
This screen displays the available facial record lists and allows you to edit them, perform a verification with them, or create a new list. The results can be filtered by the Name field.

Creating a List
The Add List button will redirect the user to a screen where they need to enter a name for the new facial record list and optionally a description. To save the new list and view it in the list, the user must click the Save button.
Fields marked with a red asterisk (*) are mandatory.

Editing a List

Clicking the Edit button will open the editing screen for the corresponding list, where the user can modify its name and description.
To save the changes made, you need to click the Save button. The Delete button will remove the list. Fields marked with a red asterisk (*) are required.
Performing a Verification
Clicking the Perform Verification button will open the 1:N Facial Verification screen, which is described in later sections.
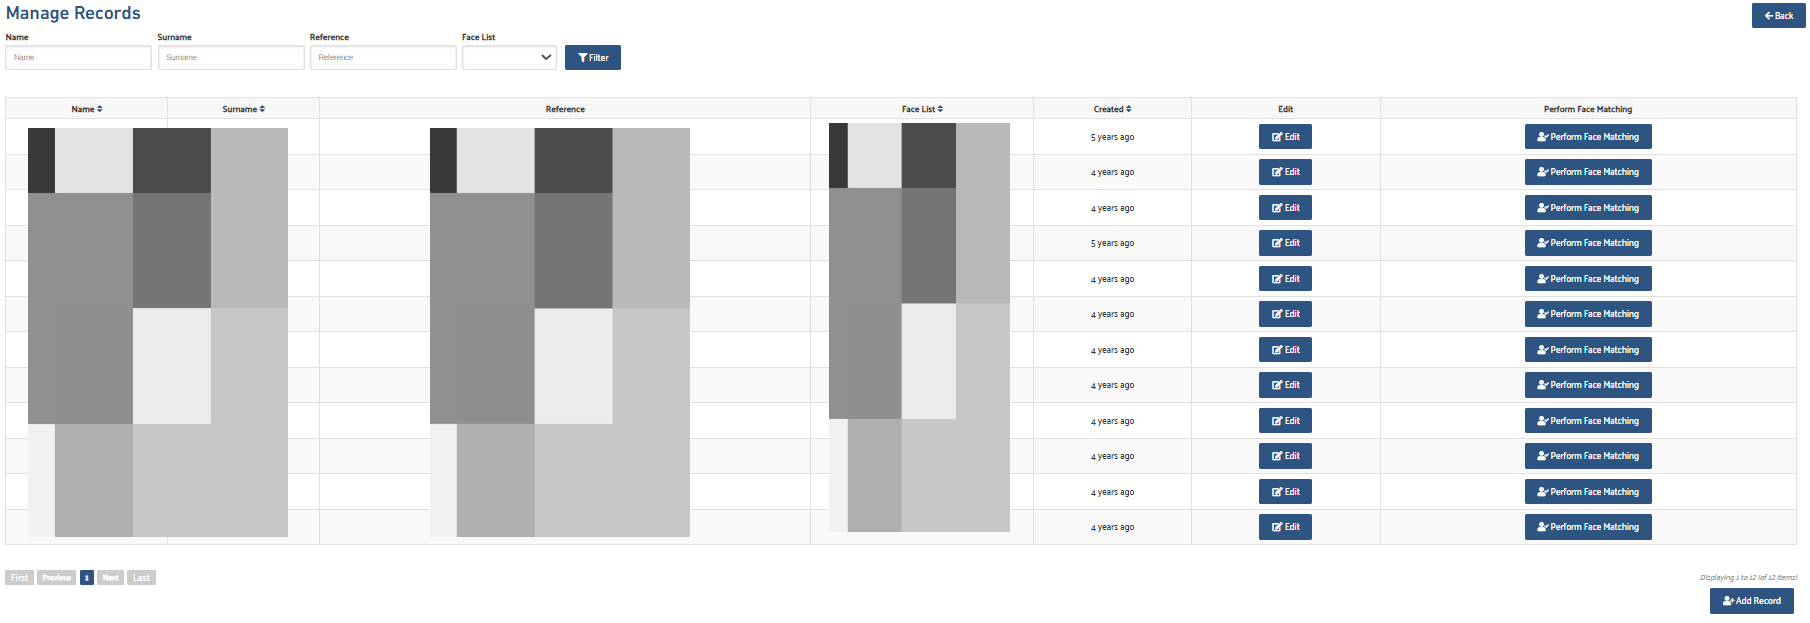
Record Management
This screen allows users to manage facial recognition records. A list of the latest records is displayed, and each can be edited, verified, or a new record can be added. The results can be filtered using the inputs at the top of the page.
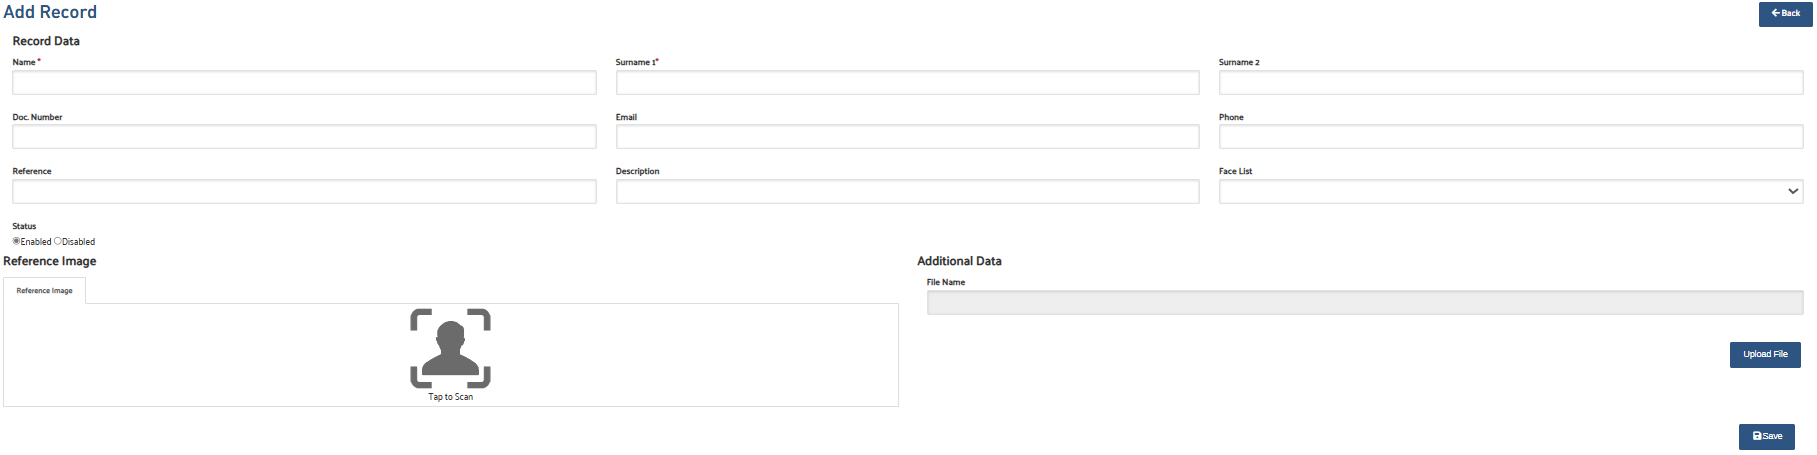
Creating a Record
The Add Record button will redirect the user to a screen where they need to enter the details for the new facial record. To save the new record and view it in the list, the user must click the Save button.
Fields marked with a red asterisk (*) are mandatory.
Editing a Record
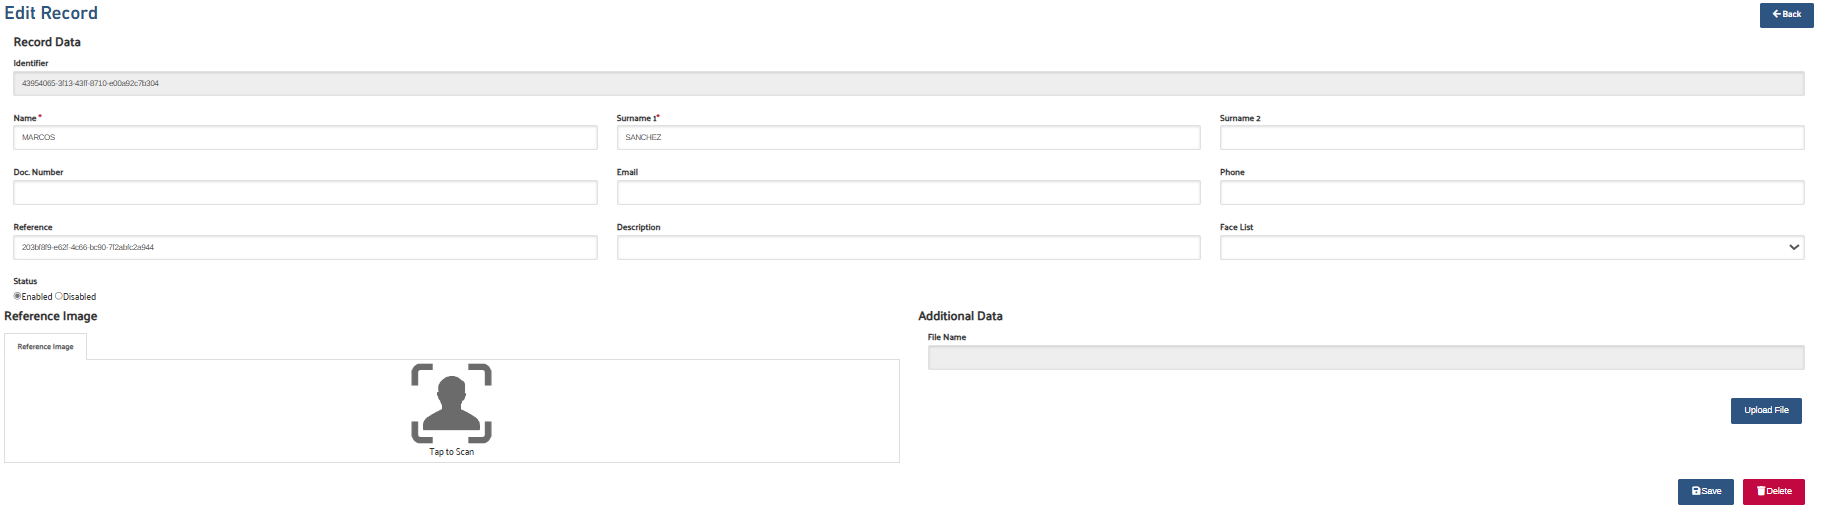
Clicking the Edit button will open the editing screen where the user can modify details such as the name, surname, or the list to which the facial record belongs, among other things. Additionally, users can attach extra files by clicking the Upload File button.
To save the changes made, you need to click the Save button. The Delete button will remove the record.
Fields marked with a red asterisk (*) are mandatory.
Performing a Verification
Clicking the Perform Verification button will open the 1:1 Facial Verification screen, which will be described in the following section.
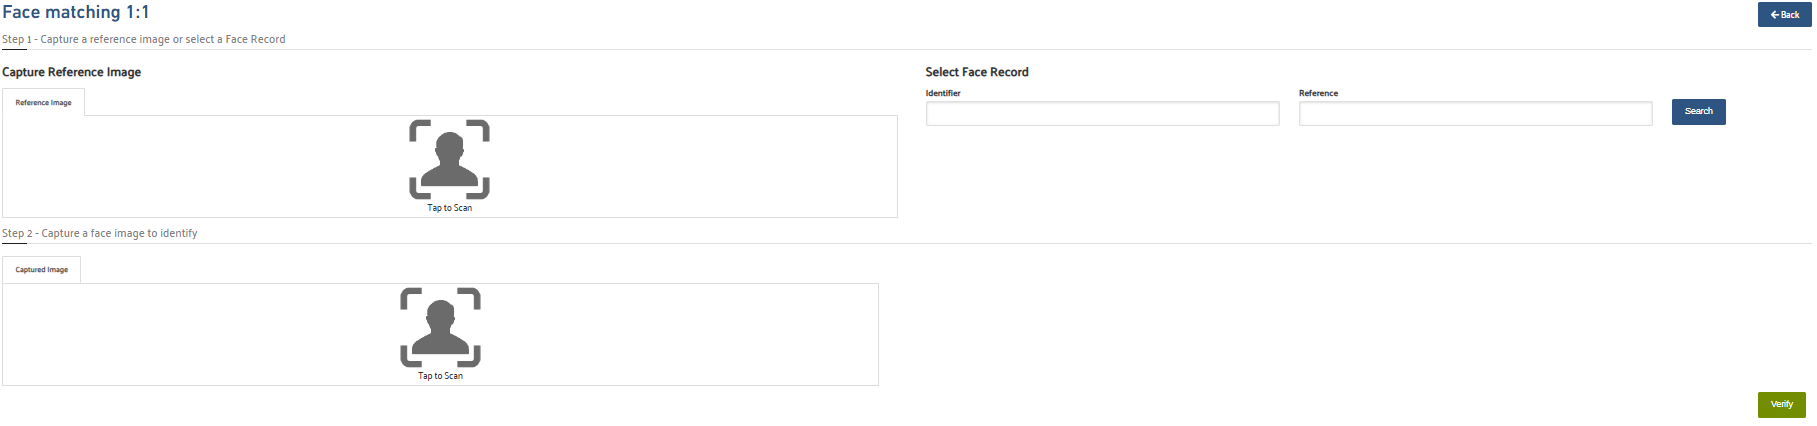
1:1 Facial Verification
This involves performing a facial verification using an existing facial record. On this screen, a record must be searched for by entering the identifier and/or reference number.
A reference image must be chosen, which will be compared with the facial image to be verified.
1:N Facial Verification
Similar to the previous case, this involves performing a facial verification using a list of facial records.